A Plan and Bad Advice
Weight, Glue, and a Bent Rail
Rails, Glass Panes, and an Alternative for Next Time
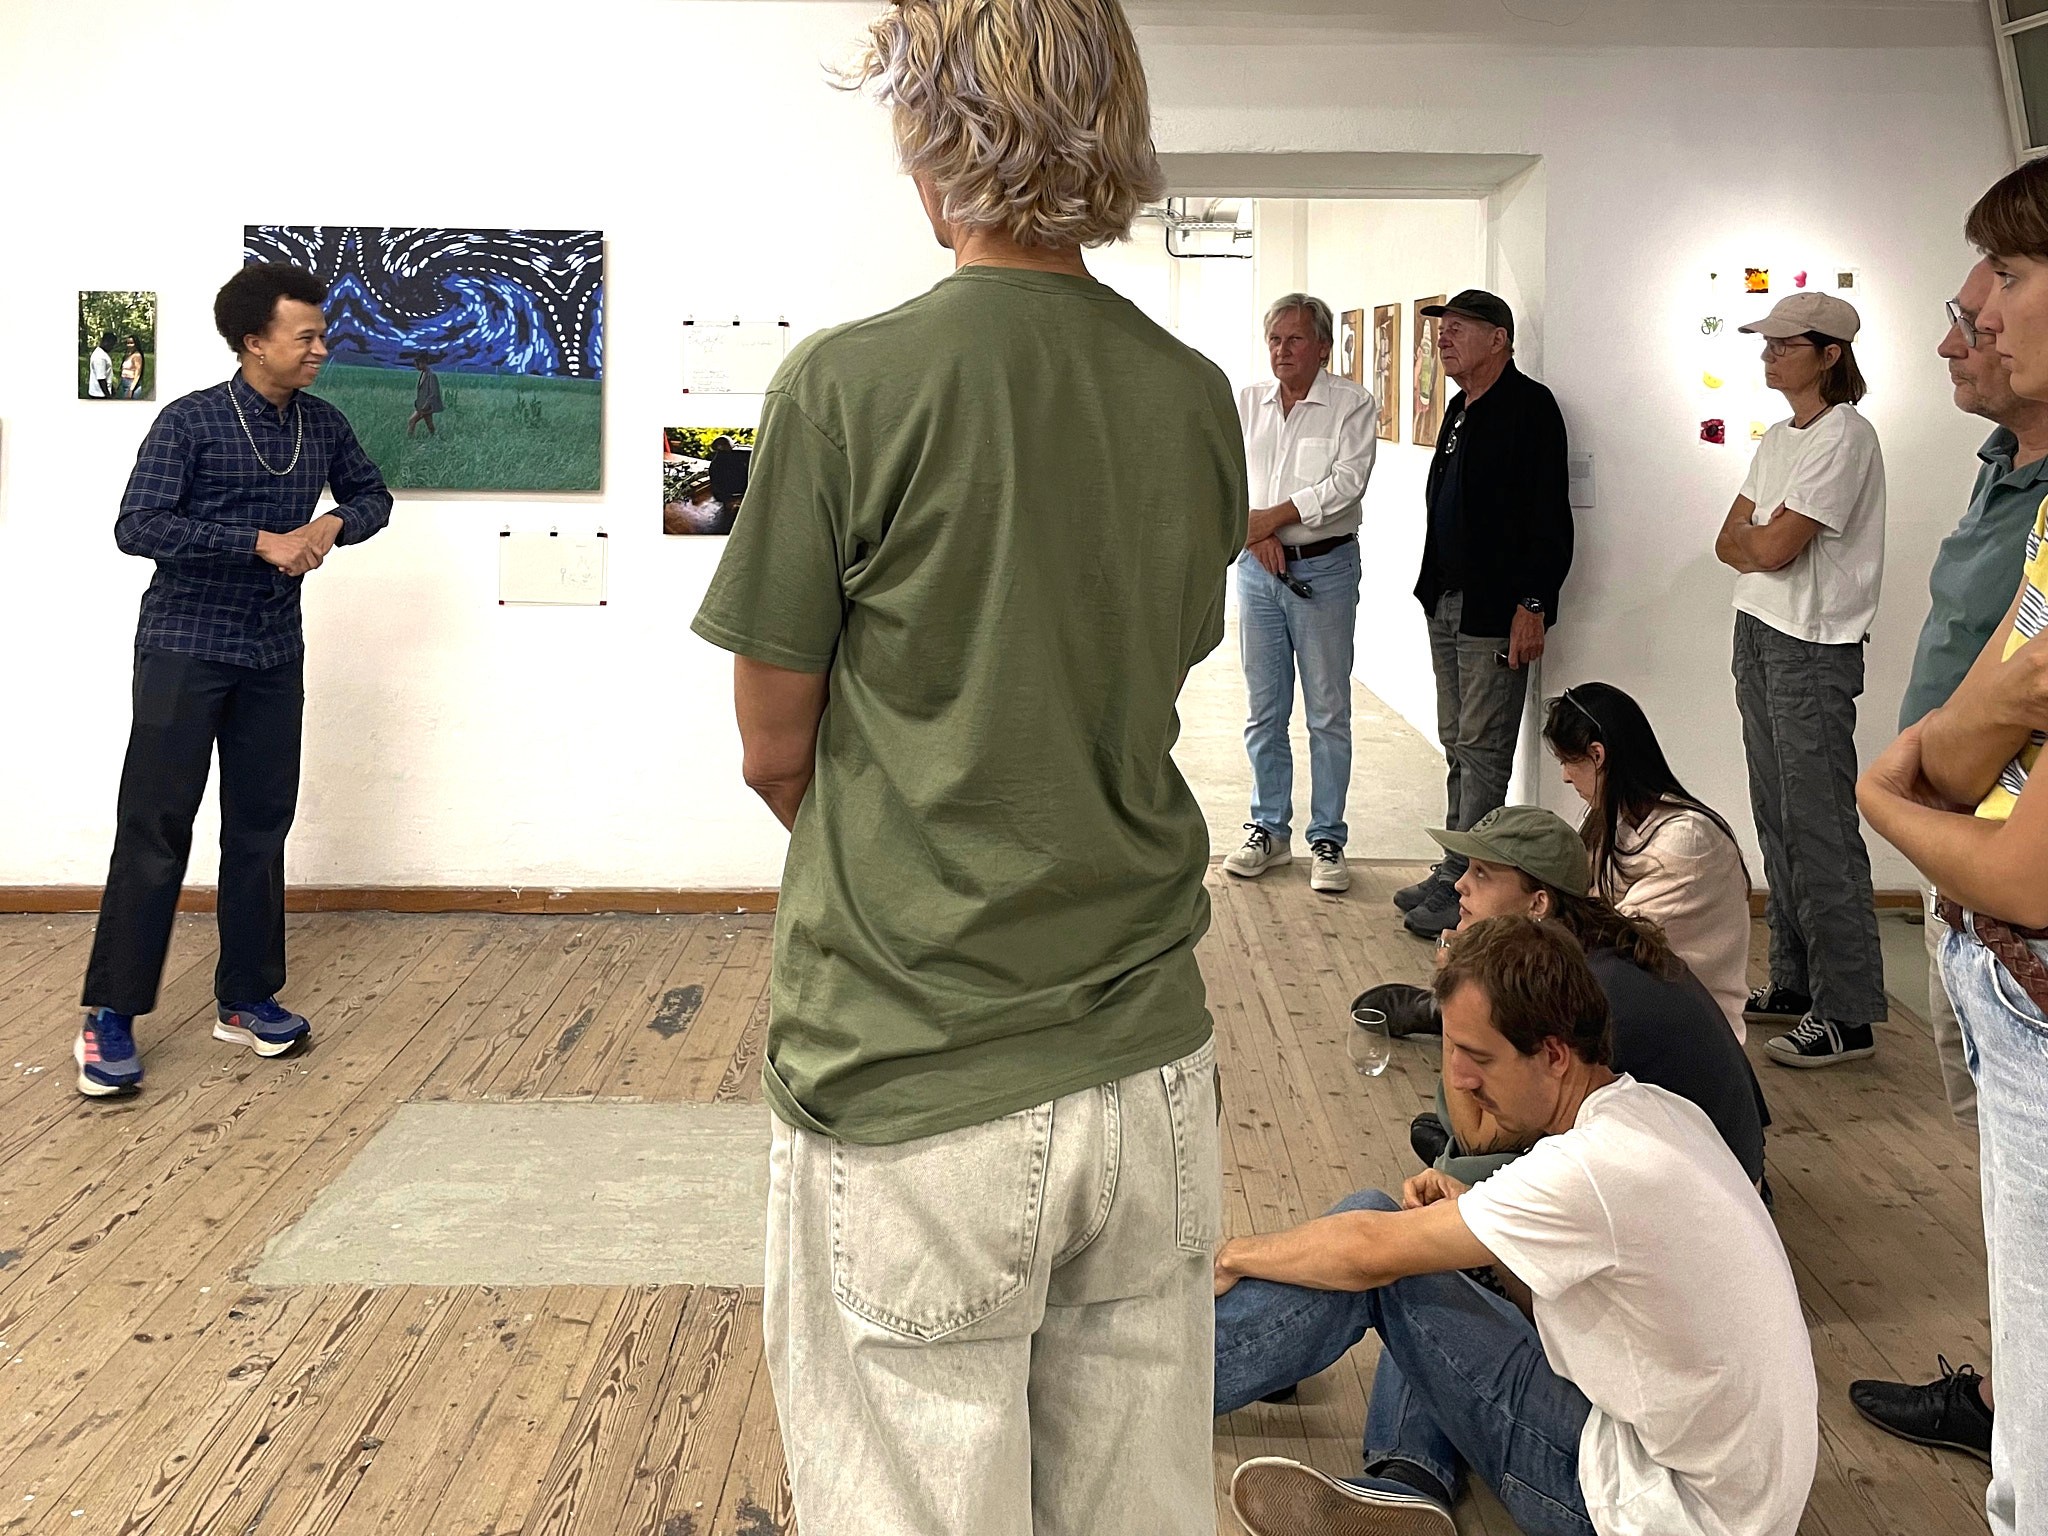
Mounting photos involves adhering prints or photographs to a backing material, stabilizing them, and attaching them to the wall. It’s a process that requires precision in material selection, technique, and installation. In September 2026, my work Echte Designrecherche was part of the group exhibition Reconnect at Haus 10 of the IG Kultur on the monastery grounds in Fürstenfeldbruck. My project explored the representation of Black people in the media. However, the biggest challenge wasn’t the concept but the physical execution: How do I get my images on the wall?
A Plan and Bad Advice
I had two months to prepare. Then a family (important) visit came up, and suddenly time was tight. I had to prioritize. Some ideas weren’t realized, others were improvised. For the images, I chose 3-mm MDF wood stable, high-quality, and better than foam board. But a fellow student advised me to use nails. That was bad advice. When I tried to hang the first images, they crashed to the floor.
Weight, Glue, and a Bent Rail
The wood was too heavy for nails. So I screwed everything in. But the rail I had attached with double-sided adhesive tape bent. It was late, the others had gone to get dinner, and I just wanted to finish. So I took all the images down and mounted a second rail. The double layer held. The dinner got cold, but it worked.


Rails, Glass Panes, and an Alternative for Next Time
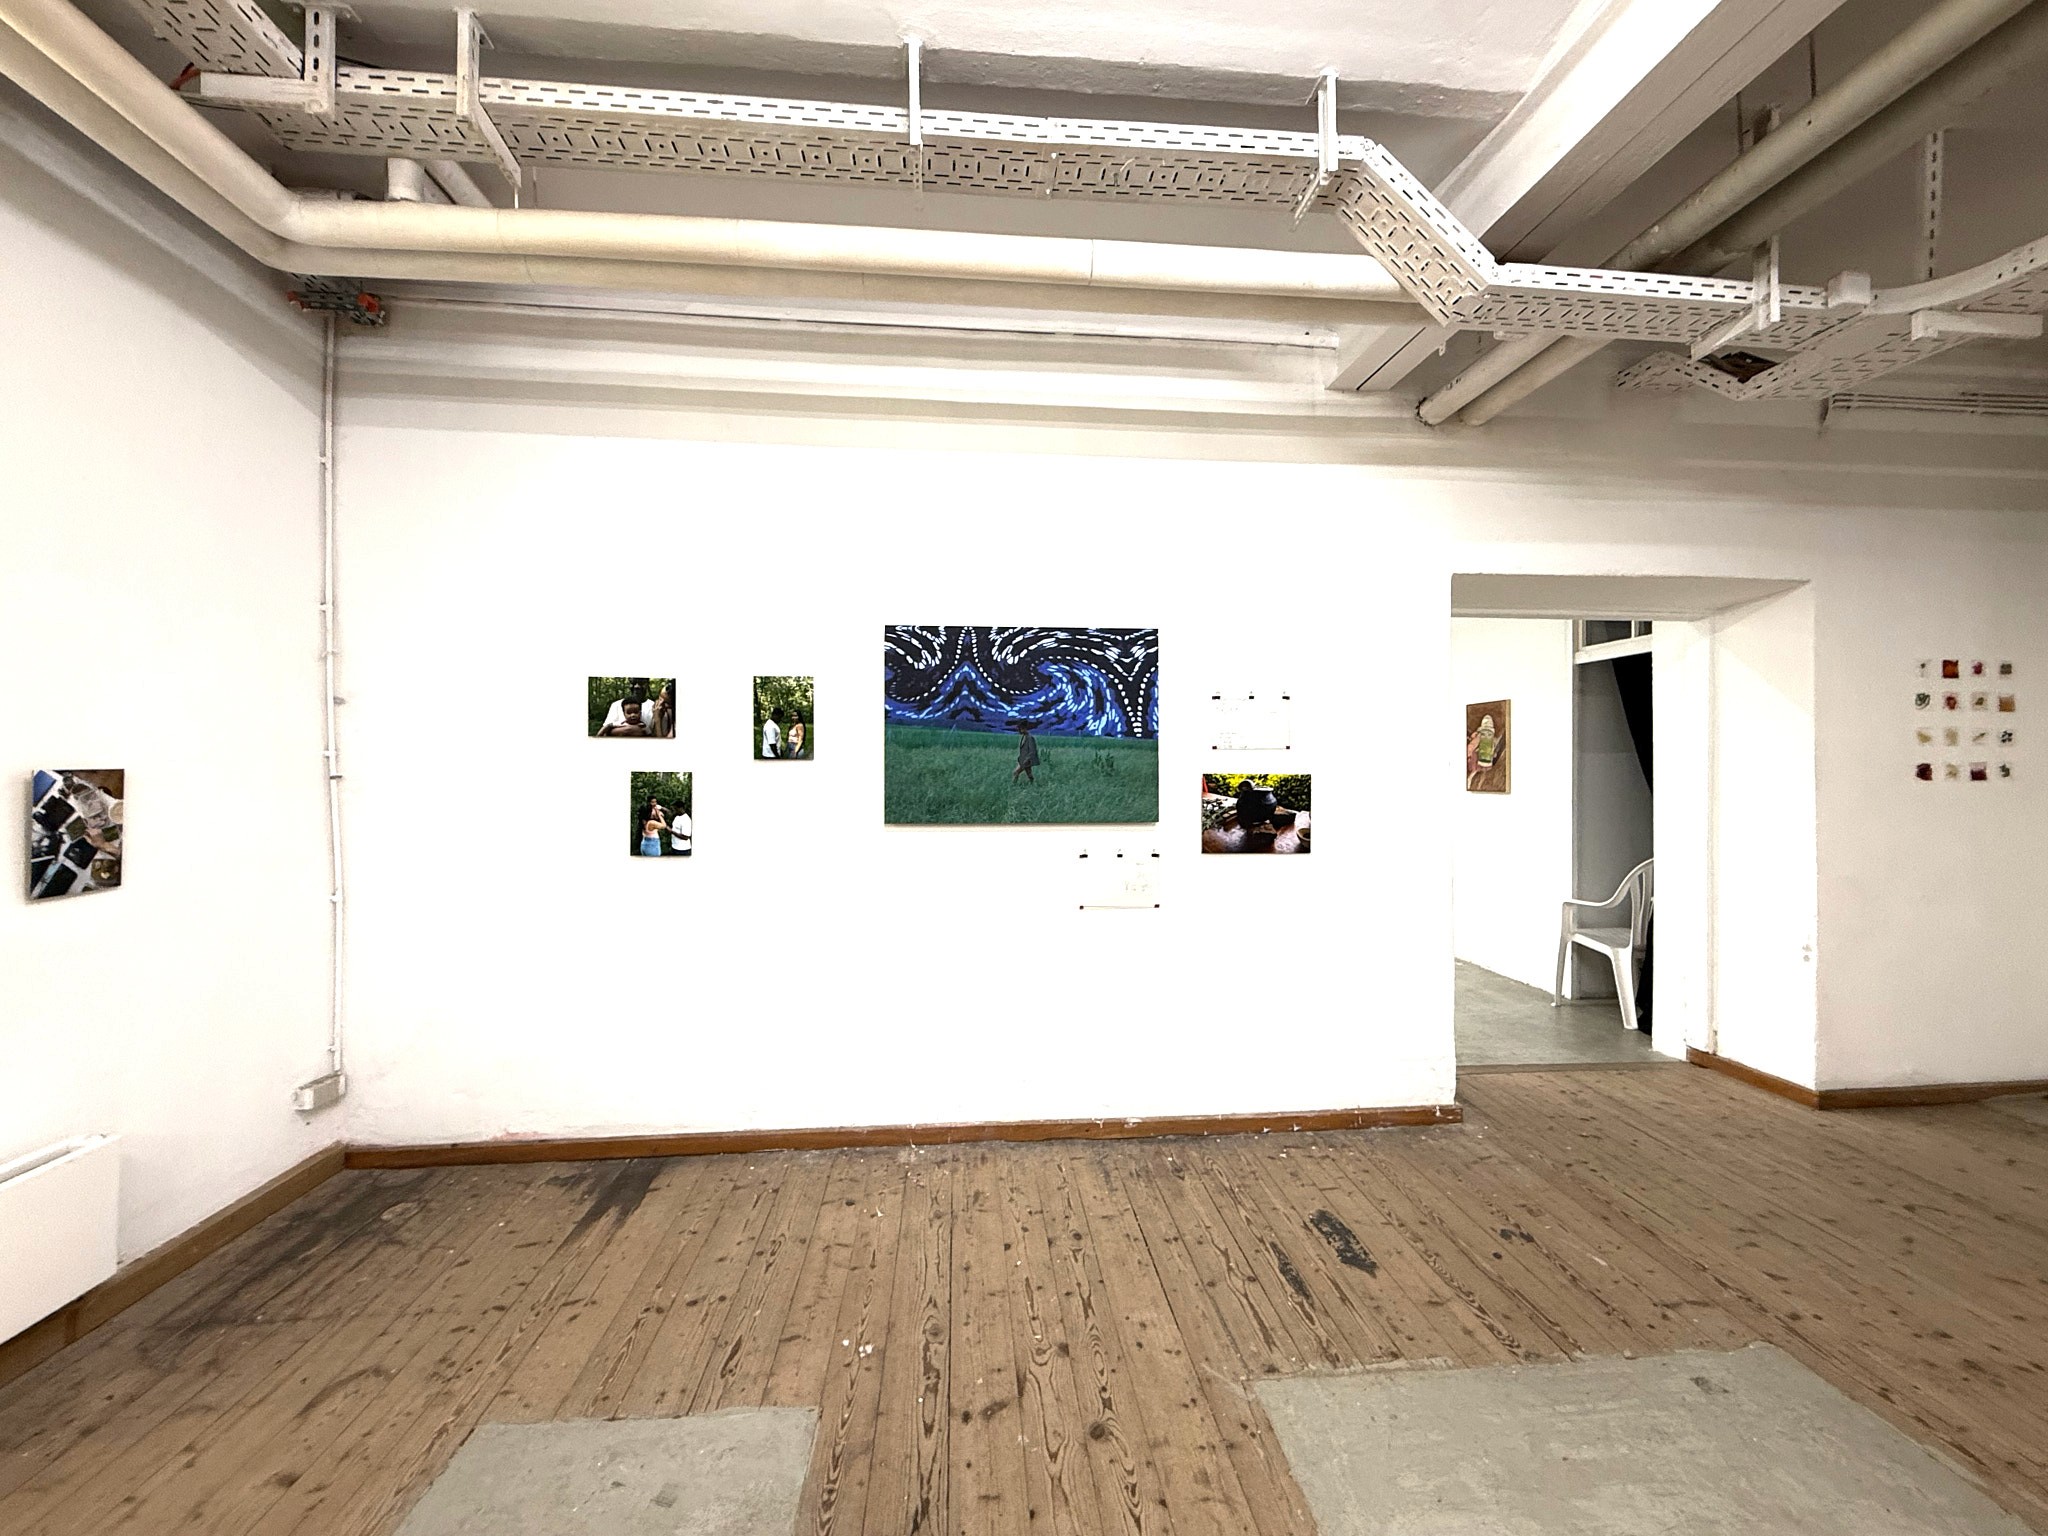
For mounting the project descriptions next to the images, I used 4-mm glass panes from the drugstore. The papers are clamped between the panes so they can be viewed from both sides. I attached the glass panes to the wall with clamps. It’s a simple trick that makes the presentation flexible.
For the prints themselves, I tried different papers: Epson Archival Matte, Hahnemühle Sustainable Satin, Metallic. In the end, it was important to me that the colors were vibrant and the prints durable. Bringing physical images into a space is a completely different experience from digital presentations, that’s something I learned in this process.
For next time, I’d use nails with smooth heads and magnets, like a fellow student did. The images would not only hang stably but could also be easily adjusted.
Another mistake was the spray adhesive. I applied it too thickly. When I tried to smooth the print with a microfiber cloth, it left marks. Fortunately, it was a matte print with a lot of color, which forgives more. Experience is everything here.
Mistakes Are Part of the Process In the end, everything was hanging. The images looked good, and the presentation was a success. The dent in the large image was only visible to me. The visitors appreciated the work, and that was the most important thing.
I’m not an expert. But I’ve learned that every mistake has a story. And sometimes it’s precisely that story that makes the work interesting in the end.